How to Use DSLR as a Webcam for Better Video Calls & Streams
Published: 19 Feb 2025
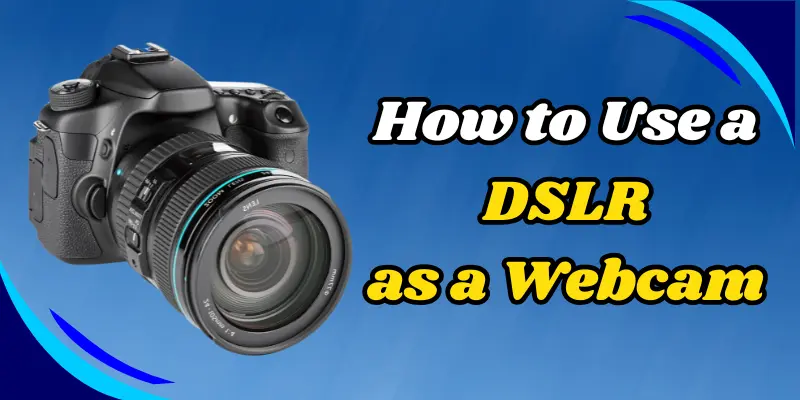
In today’s world, where video calls, live streaming, and online meetings are a part of daily life, you deserve the best quality video. If you’re tired of grainy, low-quality webcam footage, using your DSLR camera as a webcam is the game-changer you need. Whether you’re on Zoom, Skype, or even streaming on platforms like Twitch, this guide will show you exactly how to use your DSLR as a webcam for crystal-clear video. Ready to improve the quality of your videos? So, Let’s dive in!
Why Use a DSLR as a Webcam?
1. DSLR vs. Webcam: Quality Comparison
While webcams are convenient, they often can’t match the stunning image quality a DSLR offers. With a DSLR camera:
- Better Image Quality: Get sharper, brighter footage, even in low light.
- Full Control Over Settings: You can change the aperture, shutter speed, and ISO to customize the appearance of your video.
- Blurry Background: DSLRs can produce the professional blurry background effect (bokeh), which most webcams cannot.
2. More Flexibility in Your Setup
A DSLR webcam setup offers flexibility that webcams can’t match. Whether you’re using Canon, Nikon, or Sony, you can change settings and adjust your video in real time, perfect for video calls, live streams, and recording.
How to Use a DSLR as a Webcam for Zoom, Skype, and Other Platforms

Here’s an easy and quick steps to get your DSLR webcam setup ready for video calls:
Step 1: Check Camera Compatibility
Before getting started, make sure your camera supports webcam functionality. Here’s what you need:
- Canon DSLR: Use the EOS Webcam Utility to easily connect your Canon DSLR to your computer.
- Sony DSLR: Download and install Imaging Edge Webcam to link your Sony DSLR to a webcam perfectly.
- Nikon DSLR: Download the Nikon Webcam Utility for Nikon cameras.
| 🌟Tip: |
|---|
If your camera doesn’t support USB webcam functionality (UVC), you’ll need a capture card for an HDMI-to-USB connection. |
Step 2: Install the Necessary Software
After confirming your camera’s compatibility, you need to install the right software:
- Download the Software: Visit your camera manufacturer’s website and download the correct webcam software for your camera (e.g., EOS Webcam Utility for Canon, Imaging Edge Webcam for Sony).
- Install and Restart: Install the software following the on-screen instructions and restart your computer to finalize the installation.
Step 3: Connect Your DSLR to Your Computer
Now it’s time to connect your DSLR:
- Use a USB Cable: Plug your DSLR into your computer using a USB cable. Ensure it’s a compatible USB connection (USB-C or USB-B).
- Turn on the Camera: Power up your DSLR and set it to webcam or tethering mode. Check the camera settings for the specific mode.
- System Notification: Your computer should recognize the camera automatically, showing a notification in the system tray or a popup window.
If you’re using a Capture Card:

If your DSLR doesn’t support USB webcam functionality, you can connect your camera to your computer using an HDMI capture card. Here’s how to do it:
- Choose a Capture Card: Popular options include Elgato Cam Link, AverMedia Live Gamer, or Razer Ripsaw. Choose one that fits your budget and needs.
- Connect the Capture Card: Plug the HDMI cable from your DSLR into the capture card, and then connect the capture card to your computer by USB.
- Select Capture Card as the Video Source: In your video app (for example, OBS or Zoom), select the capture card as your video source.
Step 4: Select Your DSLR as the Webcam in Your Video App
After setting up your DSLR, it’s time to use it in your video applications:
- Open the Video App: Launch your preferred video conferencing or streaming app (e.g., Zoom, Skype, OBS).
- Select DSLR as the Video Source: Go to the video settings in your app and choose your DSLR as the video input source. For example, in Zoom, go to Settings > Video and select your DSLR as the camera.
Step 5: Use an External Microphone for Better Audio
While your DSLR provides excellent video quality, its built-in Microphone may not deliver the best sound quality. Here’s how to improve your audio:
- External Microphone: Connect an external microphone to your computer for clearer, more professional audio.
- Select the Microphone in the App: In your video app’s audio settings, select the external Microphone as your input source.
Troubleshooting Common Problems
Here are some common issues and how to fix them:
- Camera Not Recognized: Make sure your camera is in webcam or tethering mode. If it’s not working, try reinstalling the camera’s utility software.
- Audio Issues: DSLRs typically don’t have great built-in microphones, so use an external mic for clear sound.
- Lag or Low Frame Rate: Ensure you’re using USB 3.0 or a high-quality HDMI capture card for the best connection.
Bonus Tips for the Best Quality
To get the best video quality possible, keep these extra tips in mind:
- Lighting: Make sure you have good lighting. Position a soft light in front of you to remove shadows and create a flattering look.
- Use a Tripod: A tripod will stabilize your DSLR, allowing you to adjust the camera angle and height for a professional shot.
- Background Blur: Use your DSLR’s aperture to blur the background and focus on yourself for a more polished look.
Conclusion
Using your DSLR as a webcam is a great way to enhance the quality of your video calls, streams, and content creation. Whether you’re using Zoom, Skype, or OBS, a DSLR offers a big upgrade over standard webcams. By following these easy steps, you can set up your DSLR as a webcam and create a professional-looking video system for meetings, live streaming, or any other video needs.
Now you’re all set to improve your video quality and look like a pro on every call and stream!
Frequently Asked Questions (FAQs)
Here are answers to some of the most common questions about how to use your DSLR as a webcam:
Yes! If your DSLR camera supports UVC (USB Video Class) mode, you can connect it directly to your computer using a USB cable without needing a capture card. Cameras from brands like Canon and Sony usually support this feature. Simply install the required software, and you’re good to go.
Some of the best DSLRs for streaming include the Canon EOS R, Sony Alpha series (like the A6400), and Nikon D series (like the D850). These cameras offer excellent video quality, great autofocus and are commonly used by streamers. Choose a camera based on your budget and desired features.
To use your Canon DSLR as a webcam, download the EOS Webcam Utility from Canon’s website. Connect your DSLR to your computer by USB, and then select it as your video source in apps like Zoom or OBS. If your camera supports USB video, no capture card is required.
To use your DSLR as a webcam in OBS, first install the necessary software (like EOS Webcam Utility for Canon or Imaging Edge for Sony). Connect your DSLR to your computer through USB, and then open OBS. In OBS, add a new video capture device and select your DSLR as the source. You’re now ready to stream with professional-quality video!

- Be Respectful
- Stay Relevant
- Stay Positive
- True Feedback
- Encourage Discussion
- Avoid Spamming
- No Fake News
- Don't Copy-Paste
- No Personal Attacks

- Be Respectful
- Stay Relevant
- Stay Positive
- True Feedback
- Encourage Discussion
- Avoid Spamming
- No Fake News
- Don't Copy-Paste
- No Personal Attacks


