How to Use Built-in and External Webcam on MacBook Air
Published: 11 Jan 2025
Your MacBook Air is a powerful laptop, and its built-in webcam is perfect for daily tasks. Whether you’re making video calls, streaming, or simply taking photos, your MacBook Air’s webcam is useful.
But what if it’s not working or giving you poor video quality? Don’t worry; in this guide, I will teach you how to set up and use the webcam on MacBook Air, troubleshoot common issues, and even set up an external webcam if you need one. Without wasting time, let’s get started.
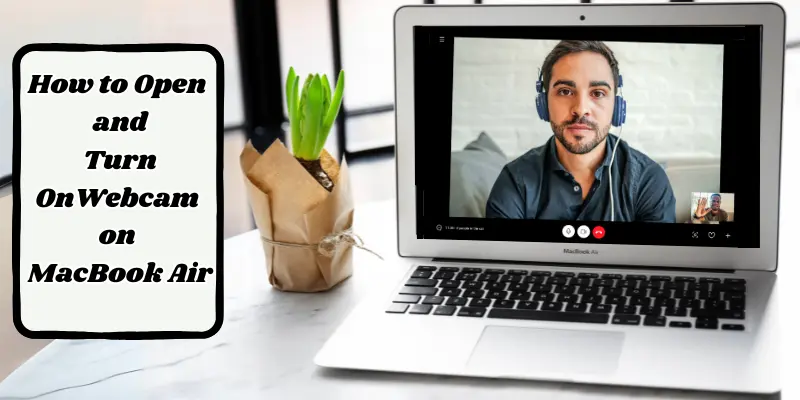
How to Open and Turn On Webcam on MacBook Air

Your MacBook Air’s built-in webcam is easy to access and use for video calls, photos, or recordings. Here’s how to quickly open it and get started.
How to Open the Webcam on MacBook Air
Your MacBook Air’s built-in webcam is easy to use. When you open apps like FaceTime or Photo Booth, the webcam should automatically turn on.
Steps:
- Open FaceTime or Photo Booth from your Applications folder.
- As soon as the app opens, you should see yourself on the screen, and the webcam will be turned on automatically.
These steps are simple and will allow you to test your webcam settings easily.
How to Turn On Webcam on MacBook Air
If your webcam doesn’t turn on automatically, you may need to enable it manually.
- Go to System Preferences > Security & Privacy.
- Click on the Camera tab.
- Make sure apps like FaceTime, Zoom, and others have permission to access the camera.
- If it still doesn’t work, try restarting your MacBook to reset the system.
How to Enable Webcam Permissions on MacBook Air
If your webcam isn’t working in apps like FaceTime, Zoom, or Skype, it could be due to privacy settings that block access. Here’s how to enable webcam permissions for your apps:
- Open System Preferences: Click the Apple logo at the top-left corner of your screen, then select System Preferences.
- Go to Security & Privacy: In the System Preferences window, click on Security & Privacy.
- Click the Camera Tab: Under the Privacy tab, select Camera from the list on the left side.
- Allow Apps to Access Webcam: You’ll see a list of apps that have requested access to your webcam. Check the box next to each app (like FaceTime, Zoom, Skype, etc.) to which you want to give camera access.
- Lock Changes (Optional): After updating your settings, click the lock icon at the bottom left and enter your password to lock the settings and prevent further changes.
Once you’ve enabled the permissions, your webcam should work with the selected apps.
How to Use Your Webcam in Video Calling Apps
Once the webcam is set up, you can use it for video calls. Whether you’re using it for work meetings, catching up with friends, or virtual events, here’s how to connect your webcam with popular video apps.
How to Use Webcam in FaceTime and Other Apps
The easiest way to use your webcam is through video calling apps like FaceTime or Zoom. These apps allow you to make video calls to anyone, anywhere.
Steps:
- Open FaceTime or Zoom on your MacBook Air.
- In the app’s settings, select your webcam if you have multiple video sources.
- Once your webcam is selected, you can start your call, and your video feed will be displayed.
This is an easy way to test your webcam and make sure it’s working properly during calls.
How to Adjust Camera Settings on MacBook Air for Better Quality
If your video quality looks poor, you may want to adjust some settings to improve it.
Steps:
- Open System Preferences > Displays.
- Adjust the brightness and contrast to make sure you look clear on video.
- If you want to improve resolution, third-party apps can give you more control over your webcam settings.
- Lighting is very important! Use natural light or a ring light to enhance your video quality.
Good lighting and proper settings are key for clearer video calls.
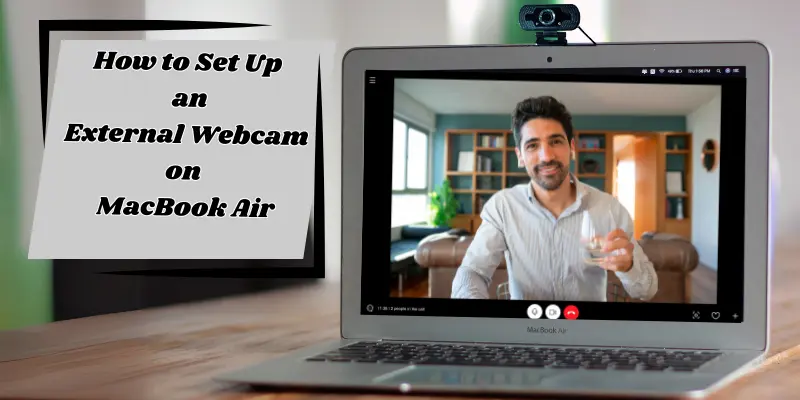
How to Set Up an External Webcam on MacBook Air

If you need better video quality, an external webcam is a great option. Here’s how to easily connect and set up an external webcam on your MacBook Air.
How to Connect an External Webcam to MacBook Air
If you want better video quality, you might want to try using an external webcam. This step will help you set up your external webcam with MacBook Air.
Steps:
- Plug your USB webcam into the USB port on your MacBook Air.
- If you have a Bluetooth webcam, turn it on and pair it with your MacBook Air.
Once connected, open a video app like FaceTime or Zoom.
How to Use an External Webcam with MacBook Air
Once your external webcam is connected, you’ll need to select it as the video source in your video app.
Steps:
- Open FaceTime or Zoom.
- Go to Settings or Preferences.
- Select your external webcam from the list of available video sources.
Your external webcam should now be the default webcam in the app.
Switching Between Built-in and External Webcam
If you want to switch from your built-in webcam to your external webcam, here’s how:
- Open FaceTime or Zoom.
- Go to the Settings or Preferences menu.
- Choose the camera icon and select your external webcam.
These steps will help you easily switch between your built-in webcam and an external one.
| 🌟Tip: |
|---|
If you need a more detailed guide on external webcams, check out our full article: How to Use External Webcam on Mac and MacBook. |
Troubleshooting MacBook Air Webcam Issues
If your webcam isn’t working properly, don’t worry. Here are some simple fixes to get it back up and running quickly.
Webcam Not Working? Here’s How to Fix It
If your webcam isn’t working, try the following solutions:
- Restart Your MacBook: A simple restart can sometimes resolve the issue.
- Check Webcam Permissions: Go to System Preferences > Security & Privacy > Camera to confirm that apps have permission to use your webcam.
- Reset PRAM and SMC: If your webcam still isn’t working, resetting the PRAM (Parameter RAM) and SMC (System Management Controller) can help.
- Reset PRAM: Shut down your MacBook, then turn it on and immediately press and hold Option (⌥) + Command (⌘) + P + R for about 20 seconds. Release the keys and let your MacBook restart.
- Reset SMC: For newer MacBooks with a T2 chip, press and hold Control (⌃) + Option (⌥) (left side) + Shift (⇧) (right side) and the Power button for 7 seconds. Release all keys, wait 10 seconds, then press the Power button again to restart.
These resets can help fix hardware-related issues that may affect your webcam’s performance.
Why Is My Webcam Blurry on MacBook Air?
If your webcam appears blurry, try these tips:
- Adjust the brightness and contrast under System Preferences.
- Clean the lens with a soft cloth to remove any dust.
- Make sure you have proper lighting in front of you.
Proper lighting and a clean lens can make a huge difference in your webcam quality.
How to Find the Webcam on MacBook Air
Can’t find your webcam? Here’s how to check:
- Open FaceTime or Photo Booth, and your webcam should automatically turn on.
If it’s still not showing up, go to System Preferences > Camera and check the settings.
Frequently Asked Questions (FAQs)
Here are answers to some of the most commonly asked questions about using a webcam on a Macbook Air.
How do I open the camera on my MacBook Air?
Open apps like FaceTime or Photo Booth from your Applications folder. The built-in webcam will turn on automatically as soon as the app launches. You’ll see yourself on the screen if the camera is working properly.
How do I enable the webcam on MacBook Air?
Go to System Preferences > Security & Privacy > Camera and make sure the app you’re using has permission to access the camera. If the webcam still doesn’t turn on, restart your MacBook. For further troubleshooting, you can also try resetting PRAM and SMC.
Can I use an external webcam with MacBook Air?
Yes, you can use an external webcam for better video quality. Simply connect it via USB or Bluetooth, and select it as your video source in the app’s settings. External webcams are a great way to improve video quality for calls or recordings.
How do I fix a blurry webcam on MacBook Air?
Clean the webcam lens gently with a soft and clean cloth to remove dust or smudges. Make sure there is good lighting in your surroundings, as poor lighting often causes rough video. Adjust your display settings (brightness and contrast) under System Preferences > Displays for a clearer image.
How do I switch from my built-in webcam to an external one?
Connect your external webcam via USB or pair it with Bluetooth. Open your video app, go to settings, and select the external webcam as your video source. This will replace the built-in webcam for video calls and recordings.
Conclusion
Understanding how to use the webcam on your MacBook Air is important for making video calls, streaming, or capturing moments. Whether you’re using the built-in camera or an external one, this guide gives you simple steps to set it up, adjust settings, and fix common issues. By following this guide, you’ll ensure smooth and high-quality video interactions, whether for work, study, or staying connected with loved ones.
With the right permissions, lighting, and settings, you can make the most of your MacBook Air’s webcam. If you need even better quality, adding an external webcam is a simple and effective upgrade. Do you have any more questions about using webcams on MacBook Air? Feel free to comment below; I’ll be happy to help!

- Be Respectful
- Stay Relevant
- Stay Positive
- True Feedback
- Encourage Discussion
- Avoid Spamming
- No Fake News
- Don't Copy-Paste
- No Personal Attacks

- Be Respectful
- Stay Relevant
- Stay Positive
- True Feedback
- Encourage Discussion
- Avoid Spamming
- No Fake News
- Don't Copy-Paste
- No Personal Attacks


