How to Connect CCTV Camera to Computer: 5 Easy Methods
Published: 2 Jun 2025
Security is a top priority today, and CCTV cameras are a smart way to protect your home or business. If you’ve bought one and want to connect it to your computer, you’re in the right place. This article will guide you through simple, practical methods to get started.
By the end, you’ll know exactly how to connect your CCTV camera to your computer, whether you’re a beginner or already have some experience. So, let’s dive in!
Different Methods of Connecting CCTV Camera to Computer
There are various ways to connect a CCTV camera to your computer, ranging from simple wired connections to more complex wireless setups. The method you choose will depend on the type of camera, the available ports on your computer, and your preferred way of accessing footage. Let’s take a look at the different methods in detail:
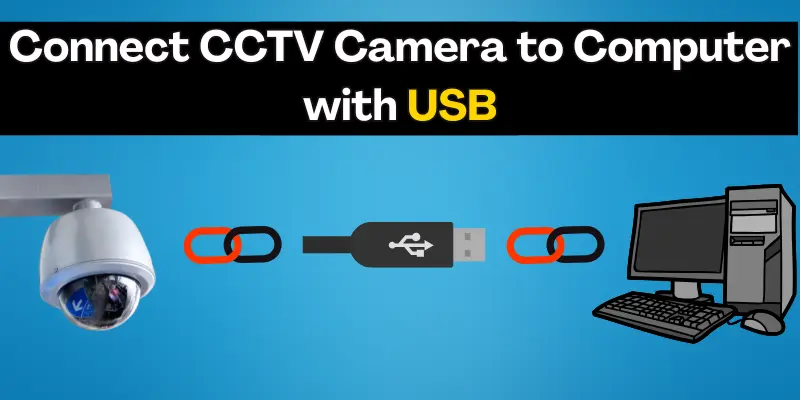
1. How to Connect CCTV Camera to Computer with USB

Connecting your CCTV camera through USB is one of the simplest and most common methods. Here’s how to do it:
- Check Compatibility: Confirm that your CCTV camera has a USB port and is compatible with your PC.
- Install Necessary Drivers: Most CCTV cameras come with software or drivers that need to be installed on your computer for the camera to function correctly.
- Connect the USB Cable: Plug one end of the USB cable into the camera and the other end into your computer’s USB port.
- Launch the Software: Open the installed software, and your camera feed should appear on your computer screen.
- Start Monitoring: From here, you can start monitoring the live feed and adjust settings as necessary.
Troubleshooting Tips:
If you’re having trouble with the USB connection, try these steps:
- No Signal: Check that the USB cable is securely connected. Try a different port or restart the software to refresh the connection.
- Software Not Detecting Camera: Ensure the correct drivers or software are installed. If not, reinstall the software and restart your computer.
- Low Video Quality: Adjust the camera’s resolution in the software and make sure your USB ports support the required data transfer speed.
- Power Issues: Ensure the USB cable is not damaged. If the camera isn’t turning on, check the power supply or try a different port.
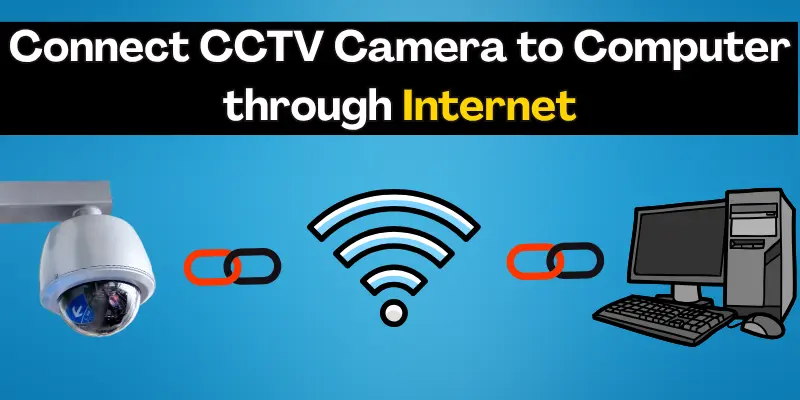
2. How to Connect CCTV Camera to Computer through Internet

Wireless connectivity provides flexibility and convenience. If you have a Wi-Fi-enabled CCTV camera, here’s how to connect it to your computer:
- Set Up the Camera on the Internet: Follow the camera’s setup instructions to connect it to your router using the Internet. This may involve configuring network settings and port forwarding through your router.
- Install the Monitoring Software: Download and install the software provided by your camera’s manufacturer. This will allow you to access the camera feed through the Internet.
- Connect the Camera: Enter the camera’s IP address or other connection details into the software. This step ensures your computer is properly linked to the camera.
- View Live Footage: Once set up, you can view the live feed from anywhere in the world using your computer or mobile device, as long as you have internet access.
Troubleshooting Tips:
If you’re encountering issues with the internet connection, try these solutions:
- Weak Internet Connection: Ensure your camera is within range of the router. If the internet speed is slow, consider upgrading your plan or using a wired connection for more stability.
- Connection Failure: Double-check your internet connections or port forwarding settings to ensure they’re correct. Restart both the camera and router to refresh the connection.
- Camera Not Showing in Software: Make sure the correct IP address is entered into the software, and verify that both the camera and computer are connected to the same network.
- Interference: If the video feed is lagging or not loading, check for network traffic. Reduce the number of devices connected to the Internet to improve bandwidth for the CCTV camera.
3. How to Connect CCTV Camera to Computer with an HDMI Cable
For high-quality video output, you might want to connect your security camera to PC or TV using an HDMI cable. Here’s how to do it:
- Check Compatibility: Ensure your CCTV camera has an HDMI output and that your computer has an HDMI input port. If your computer only has a USB port, you may need an HDMI-to-USB converter.
- Connect the HDMI Cable: Plug one end of the HDMI cable into the camera’s HDMI output and the other end into your computer’s HDMI input.
- Launch the Viewing Software: After connecting your CCTV camera to the computer using an HDMI cable, open the software provided by the camera or any compatible third-party software that supports HDMI input. In the software, ensure you select HDMI as the input source; some software will detect the HDMI connection automatically, while others may require you to select it manually.
- View and Adjust Camera Feed: Once the input is selected, the live feed will appear, and you can adjust settings like resolution and frame rate to optimize video output.
Troubleshooting Tips:
If you’re facing issues with the HDMI connection, try these solutions:
- No Signal: Make sure the HDMI cable is securely connected to both the camera and computer. If using an HDMI-to-USB adapter, verify it’s properly connected and compatible.
- Poor Video Quality: If the video is blurry, check if both the camera and computer support the desired resolution. Then, adjust the settings in the software or camera menu.
- Camera Not Showing in Software: Ensure the correct HDMI input is selected in the software. Then, restart both the camera and software to refresh the connection.
- Connection Dropouts: If the feed cuts out at times, try using a different HDMI cable or port, as damaged cables or ports may cause unstable connections.
4. How to Connect CCTV Camera to Computer Without DVR
Many modern CCTV cameras don’t require a DVR to function. Here’s how you can set up your camera directly with your computer:
- Direct Connection: Some cameras allow for direct connections to a computer through USB or Ethernet cables. Simply connect the camera to your computer if it supports this option.
- Install Software: Download and install the required monitoring software for your camera. This software will enable you to access the camera feed directly on your computer.
- Configure the Camera: Follow the software’s instructions to configure the camera’s settings and start monitoring the feed.
Troubleshooting Tips:
If you’re having issues with the connection, try these solutions:
- No Camera Feed: Ensure that the USB or Ethernet cable is securely connected. Double-check the software installation and make sure you’re using the correct drivers.
- Software Not Detecting Camera: Make sure the correct input source (USB or Ethernet) is selected in the software. If the feed isn’t showing, restart the software and camera.
- Resolution Issues: If the video quality is poor, check the resolution settings on both the camera and the software to make sure they’re compatible.
| Note: |
|---|
Without a DVR, footage is stored directly on your computer, so make sure you have enough storage space to save the recordings. |
5. How to Connect CCTV Camera to Computer Without Internet
If you prefer not to connect your IP camera to the internet for security reasons, you can still set it up locally. Here’s how:
- Set Up a Local Area Network (LAN): Connect both the IP camera and your computer to the same local network using Ethernet cables. This will allow you to access the camera without requiring an internet connection.
- Assign a Static IP Address: Assign a static IP address to your camera to ensure it’s accessible on the local network and to avoid conflicts with other devices.
- Install Software: Download and install compatible monitoring software on your computer that supports local IP camera connections.
- Connect the Camera: Open the software and enter the static IP address of your camera to establish the connection and begin monitoring.
Troubleshooting Tips:
If you’re facing issues with the local connection, try these solutions:
- No Camera Feed: Ensure both the camera and computer are connected to the same local network. Check the Ethernet cables and ensure they are securely plugged in.
- IP Address Conflict: If the camera is not connecting, check if its IP address conflicts with other devices on the same network. Assign a new static IP if needed.
- Software Not Detecting Camera: Verify that the software supports local IP camera connections. Restart both the camera and software to refresh the connection.
Conclusion
By following the methods above, you’ll be able to connect your CCTV camera to your computer quickly. Whether you choose a USB, Wi-Fi, HDMI, or Ethernet connection, this article has given you all the tools and information needed to make the process easier.
If you encounter any issues while connecting your camera, don’t worry—just follow the troubleshooting tips provided after each step. These tips are designed to help you quickly resolve common problems and get everything running smoothly.
Frequently Asked Questions (FAQs)
Here are answers to some of the most common questions about how to connect a CCTV camera to a computer :
To complete the configuration of the IP camera for local access, first ensure that your camera is connected to your local network using Ethernet cables. Then, assign a static IP address to the camera to avoid any conflicts with other devices. You might also need to adjust a few settings in the camera’s software. Once that’s done, open the software on your computer, enter the camera’s IP address, and you’ll be able to view the live feed.
You can use a USB or HDMI cable to connect your CCTV camera to your laptop. For an IP camera, simply connect it to your Wi-Fi or Ethernet, install the camera’s software, and enter the camera’s IP address to view the live footage.
To connect your CCTV camera to your computer, you can use a USB or Ethernet cable. For USB, plug the cable from the camera into the computer, install the necessary drivers, and open the software to view the feed. For Ethernet, connect the camera to your network and use the software to monitor the live footage.

- Be Respectful
- Stay Relevant
- Stay Positive
- True Feedback
- Encourage Discussion
- Avoid Spamming
- No Fake News
- Don't Copy-Paste
- No Personal Attacks

- Be Respectful
- Stay Relevant
- Stay Positive
- True Feedback
- Encourage Discussion
- Avoid Spamming
- No Fake News
- Don't Copy-Paste
- No Personal Attacks


