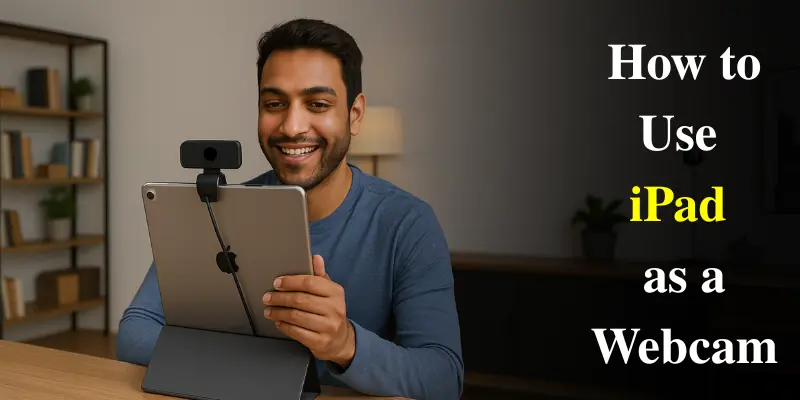
How to Use iPad as a Webcam for Video Calls & Streaming
Published: 10 May 2025
Has your webcam ever failed before an important call, or does it lack the quality you need? You’re not alone! Built-in webcams often provide poor video quality, especially for professional meetings or streaming. Luckily, your iPad can be a game-changer because its camera offers better resolution and flexibility than most built-in webcams.
In this article, I’ll show you how to easily use your iPad as a webcam for all your video conferencing needs. So, let’s dive in.
3 Methods to Use an iPad as a Webcam
Here are the three best methods to turn your iPad into a high-quality webcam for video conferencing, streaming, and more.
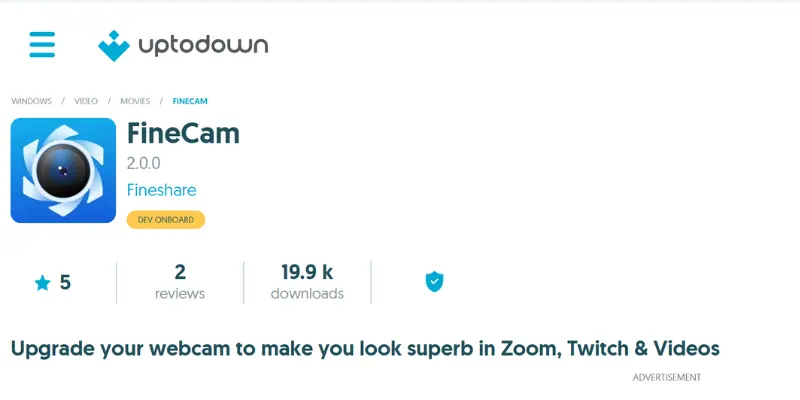
Method 1: Using FineCam (For Both PC & Mac)
FineCam is a versatile app that allows you to use your iPad as a webcam for both PC and Mac. It offers features like video streaming, recording, and the ability to add multiple devices as webcams. Finecam supports both USB and Wi-Fi connections, which makes it a flexible and easy-to-use solution for your webcam needs.
Here are the steps to set up FineCam:
- Download FineCam on your iPad: Go to the App Store, search for FineCam, and install the app on your iPad.
- Install FineCam Desktop Client: Download and install the FineCam Desktop Client on your PC or Mac from the official FineCam website. This will allow your computer to recognize your iPad as a webcam.
- Connect your iPad to your computer: You can connect your iPad to your PC or Mac using either a USB cable for a stable connection or Wi-Fi for wireless use.
- Set FineCam as the default webcam: Once connected, open your video chat or streaming app (Zoom, Skype, Discord, etc.), and select FineCam as your default webcam in the app’s video settings. This will enable your iPad’s camera to function as your webcam during video calls or streaming sessions.
While FineCam is a solid option but it lacks some of the advanced features found in premium option. However, it’s perfect for anyone who needs a reliable, cross-platform solution for both Mac and PC users.
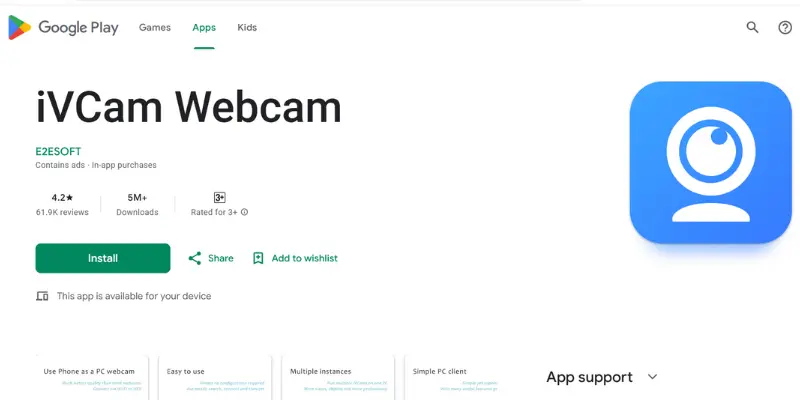
Method 2: Using iVCam (For Windows PC)
iVCam is another excellent app for turning your iPad into a webcam, specifically designed for Windows users. It supports both USB and Wi-Fi connections and offers real-time streaming, making it perfect for video calls or even as a security camera..
Here’s how to set up iVCam:
- Download iVCam on your iPad: Go to the App Store, search for iVCam, and install the app on your iPad.
- Install the iVCam client on your Windows PC: Download and install the iVCam client from the official website on your Windows PC.
- Connect your iPad to your PC: Use either a USB cable for a stable connection or Wi-Fi for wireless use.
- Set iVCam as the default webcam: Once connected, open your video chat software (Zoom, Skype, etc.), and select iVCam as your default webcam in the app’s video settings.
While iVCam’s free version offers plenty of features but it does have some limitations in terms of resolution and advanced settings compared to the paid version. However, it remains an excellent, budget-friendly option for Windows users.
Want to check your webcam? 🎥 Try this free online tool to test if it’s working properly.
👉 Click here to test now
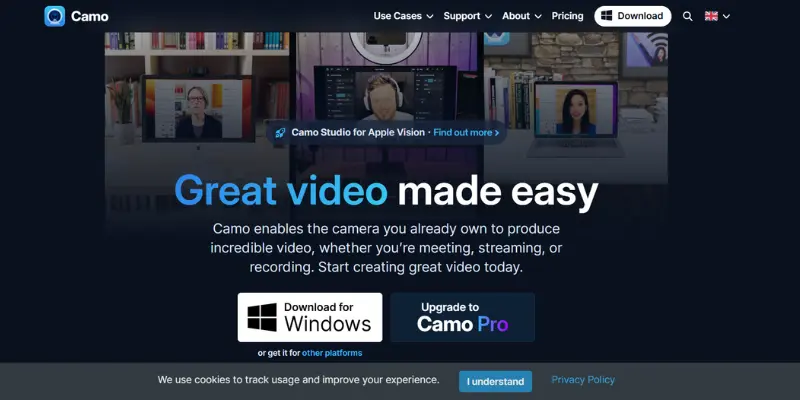
Method 3: Using Camo (For Mac)
If you’re a Mac user, Camo is an excellent app that provides high-definition video quality, customizable zoom, rotation, and even video effects to enhance your video calls and streaming experience.
Here’s how to set up Camo:
- Download the Camo app on your iPad: Open the App Store, search for Camo, and install the app on your iPad.
- Install Camo Studio on your Mac: Download and install Camo Studio on your Mac from the official Camo website.
- Connect your iPad to your Mac through USB: Use a USB cable to connect your iPad to your Mac for a stable connection.
- Set Camo as the default webcam: Once connected, open your video chat or streaming app (Zoom, Skype, Google Meet, etc.), and set Camo as your default webcam in the app’s video settings.
Camo delivers incredible video quality, but some advanced features require a paid subscription. Despite that, it’s a fantastic option for Mac users who want a professional webcam experience for high-quality video calls or streaming.
Troubleshooting Tips for iPad Webcam Use
Sometimes, even the best apps you can encounter some issues. Here are some common problems and solutions:
- Connectivity Issues: If your iPad isn’t connecting, make sure both devices are connected to the same Wi-Fi network, or use a high-quality USB cable. Sometimes, restarting both devices can resolve connection problems.
- App Compatibility: Ensure your video chat app recognizes your iPad as the default webcam by selecting the iPad camera in the app’s settings.
- Performance Issues: If you notice lag or poor video quality, try closing any unnecessary apps running in the background, reducing the resolution, or adjusting the lighting in your environment for better clarity.
- Common Error Fixes: If you encounter “camera not detected” or “low resolution” errors, try reinstalling the app or updating both your iPad and the app to the latest version. Sometimes, simply switching to a different connection (USB or Wi-Fi) can help resolve issues.
Frequently Asked Questions (FAQs)
Here are answers to some of the most common questions about using an iPad as a Webcam:
Yes, you can use your iPad as a webcam for Zoom, Skype, or other video apps. Simply download the right app, such as FineCam or iVCam. Once set up, you can select your iPad as the webcam in the app’s settings.
For Windows users, iVCam is a great option. It works well with both free and premium features, giving you flexibility. The app is easy to install and connects your iPad to your PC using USB or Wi-Fi.
Yes, most apps allow you to use either the front or rear camera of your iPad. The front camera is more convenient for video calls, while the rear camera offers better video quality. Depending on the situation, choose the one that best suits your needs.
To use your iPad as a webcam on a MacBook, simply download an app like Camo or FineCam. Install the necessary software on both your iPad and MacBook, then connect them through USB or Wi-Fi. After setup, you can select your iPad as the webcam in your video apps.
Yes! With apps like Camo or FineCam, you can easily turn your iPad into a high-quality webcam for OBS. Just install the app, connect your iPad, and select it as the camera source in OBS settings.
Conclusion
Using your iPad as a webcam is an affordable way to boost your video call quality for meetings, streaming, or content creation. With apps like FineCam, iVCam, and Camo, setting up your iPad is quick and easy. Whether you need HD quality or a simple webcam alternative, your iPad can improve your video quality. Choose the app that fits your needs and get started today!
If you encounter any issues during setup, feel free to leave a comment—I’d be happy to help!


- Be Respectful
- Stay Relevant
- Stay Positive
- True Feedback
- Encourage Discussion
- Avoid Spamming
- No Fake News
- Don't Copy-Paste
- No Personal Attacks
- Be Respectful
- Stay Relevant
- Stay Positive
- True Feedback
- Encourage Discussion
- Avoid Spamming
- No Fake News
- Don't Copy-Paste
- No Personal Attacks
