Top 10 Common Webcam Mistakes and How to Fix Them
Published: 14 Aug 2025
In today’s digital world, webcams have become essential for remote work, online classes, video interviews, and even connecting with family and friends. However, many of us overlook the importance of optimizing webcam settings, resulting in poor video quality and frustrating experiences during virtual meetings or streaming sessions. Whether you’re a professional, student, content creator, or job seeker, optimizing your webcam setup is crucial.
In this article, we’ll address 10 common webcam mistakes and offer simple, actionable solutions to help you look your best on camera. So let’s get started.
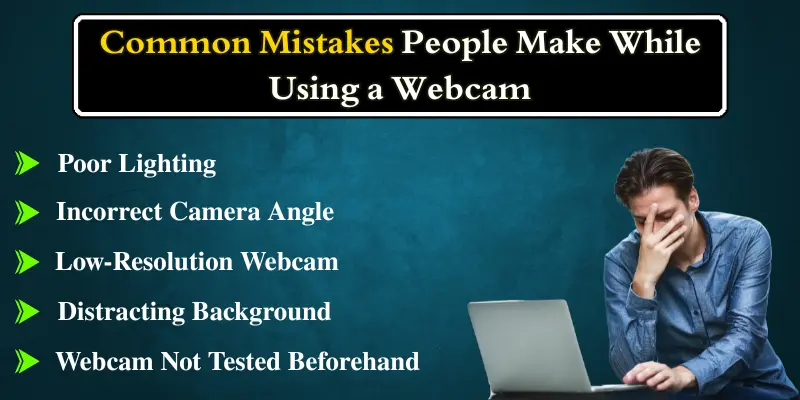
1. Poor Lighting: The Silent Enemy of Webcam Quality
One of the most common issues with webcam setups is poor lighting. When the lighting isn’t right, your webcam can’t capture the actual colors and details of your face, resulting in a grainy or washed-out image. This can be especially problematic during professional video calls or interviews, where first impressions matter.
How to Fix It:
- Use natural light: Position yourself near a window, allowing natural light to highlight your face.
- Ring lights: If you don’t have access to natural light, invest in a ring light. These provide even, soft lighting and are affordable.
- Avoid backlighting: Ensure that the light source is in front of you, not behind, as it creates a silhouette effect.
2. Incorrect Camera Angle: Looking Down or Up?
Another common mistake is positioning the webcam too high or too low, leading to an awkward view of your face. A bad angle can make you appear unprofessional or disconnected during video meetings.
How to Fix It:
- Align the webcam with your eyes: Your camera should be at eye level, giving the impression that you’re looking directly into the camera.
- Use a tripod or laptop stand: This helps achieve the right height without relying on makeshift setups.
3. Low-Resolution Webcam: Blurry and Pixelated Video
Using a low-resolution webcam can make you appear blurry or pixelated, which can be a major drawback during important video calls, interviews, or live streaming.
How to Fix It:
- Upgrade your webcam: Consider investing in a webcam that supports at least 720p or 1080p resolution. Most modern webcams offer crystal-clear video quality.
- Check your webcam settings: Make sure your video resolution is set to the highest quality possible in your device’s camera settings. Some platforms may automatically default to a lower resolution, so manually selecting a higher setting can make a big difference.
4. Distracting Background: Too Much Going On Behind You
Having a cluttered or inappropriate background during a video call can distract from the conversation and make you appear unprofessional. Whether it’s a pile of laundry or a messy desk, background distractions can divert attention away from your message.
How to Fix It:
- Choose a simple background: Position yourself in front of a clean, neutral wall, or use a virtual background if your platform supports it.
- Use a blurred background: Many video conferencing platforms, like Zoom, offer a blur background feature that focuses on you while blurring everything behind.
5. Audio Problems: Poor Sound Quality Can Be Just as Bad as Poor Video
Webcam video isn’t the only issue—poor audio quality can be just as distracting and frustrating. Whether it’s echoes, muffled voices, or feedback, sound issues can make it hard for your audience to hear or understand you.
How to Fix It:
- Invest in an external microphone: A good-quality microphone can drastically improve sound clarity.
- Test your sound settings: Before any call, test your microphone and speaker settings to avoid unwanted issues during the meeting.
6. Webcam Not Tested Beforehand: Last-Minute Tech Check Failures
Imagine joining a video call only to realize your webcam isn’t working or your audio is muted. This is a frustrating experience, but it’s easy to avoid with a bit of preparation.
How to Fix It:
- Do a test run: Always test your webcam and microphone before joining important calls or meetings.
- Check your software settings: Make sure your video conferencing software detects your camera and microphone before you go live.
7. Unstable Camera: Shaky Video Ruins the Experience
A shaky or unstable camera can make your video look unprofessional and make it harder for your viewers to focus on your content.
How to Fix It:
- Stabilise your camera: To avoid shaky video, make sure your camera is placed on a stable surface like a tripod or a laptop stand. If you don’t have a tripod, a sturdy table or desk will work.
- Avoid holding your webcam or laptop in your hands during calls, as this will cause unnecessary movement and make your video look unstable.
8. Dirty Lens: A Simple Mistake with Big Consequences
A dirty webcam lens can significantly affect the quality of your video, making it appear blurry or smudged. This can be distracting and unprofessional, especially during important video calls, interviews, or live streams.
How to Fix It:
- Clean your lens: Use a microfiber cloth or lens cleaning wipe to gently remove dust or smudges from the lens. Avoid using materials that could scratch the lens.
- Check regularly: Before every call, take a moment to check the lens and make sure it’s clean for clear, sharp video.
9. Using Built-In Laptop Webcam: The Risk of Mediocre Quality
Most laptops have built-in webcams, but they often provide lower video quality compared to external webcams. This can affect your appearance during important calls or streams.
How to Fix It:
- Upgrade to an external webcam: External webcams offer better resolution, higher frame rates, and clearer images, ensuring you look sharp and professional.
10. Leaving Your Webcam Exposed: A Risk You Should Avoid
Leaving your webcam open or uncovered when not in use can compromise your privacy and security. Not only can this lead to potential hacking risks, but it can also cause unnecessary distractions during video calls if the camera is mistakenly activated.
How to Fix It:
- Use a webcam cover: Invest in a simple webcam cover or use a piece of tape to cover the lens when not in use, ensuring your privacy is protected.
- Be mindful of settings: Always make sure your webcam is disabled when you’re not using it, especially during online sessions or meetings.
Conclusion
Avoiding these common webcam mistakes will help ensure that you look and sound professional in all your virtual interactions. Whether you’re attending a remote job interview, participating in an online class, or streaming your content, a well-set-up webcam can make all the difference.
By following the tips outlined above, you’ll not only improve your video quality but also present yourself in a way that’s professional, engaging, and polished. Make sure to test your setup regularly and always be mindful of lighting, positioning, and audio to ensure smooth, effective communication.
Start improving your webcam setup today with these tips, and share your thoughts or additional suggestions in the comments below!


- Be Respectful
- Stay Relevant
- Stay Positive
- True Feedback
- Encourage Discussion
- Avoid Spamming
- No Fake News
- Don't Copy-Paste
- No Personal Attacks
- Be Respectful
- Stay Relevant
- Stay Positive
- True Feedback
- Encourage Discussion
- Avoid Spamming
- No Fake News
- Don't Copy-Paste
- No Personal Attacks
